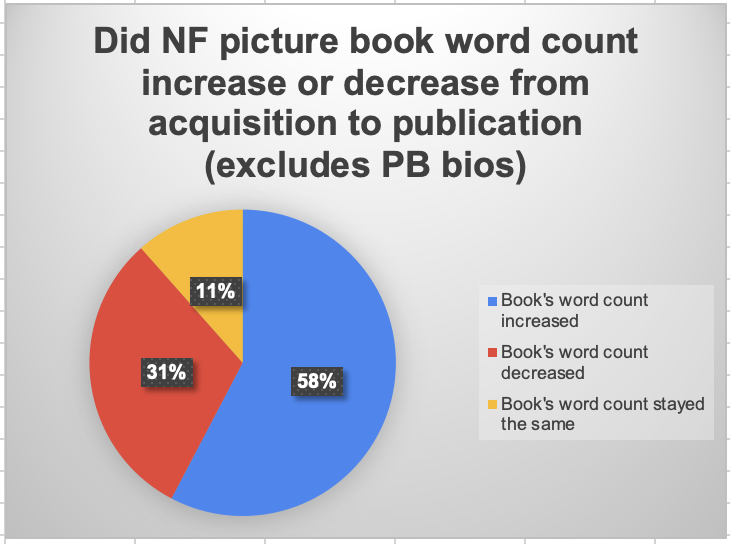
As writers of nonfiction picture books, we often find ourselves grappling with the question of word count. In the early stages of crafting our manuscripts, we strive to adhere to the industry-recommended range of 800 to 1,000 words, fearful of exceeding the limits. Yet once books are acquired, they most frequently grow longer. This is what I discovered in my word count survey of debut, nonfiction picture book authors. You can read the survey results here.
I dug into the data to see how frequently debut word counts increased and by how much.
| Expository Nonfiction | PB biographies | |
| % of manuscripts whose word counts increased during editing | 58% of the books | 50% of the books |
| Average word count increase | 99 words | 201 words |
| Range of word count increase | 5 to 400 words | 22 to 500 words |
Adding Depth to Nonfiction
Why the surprising results? Last month, I mused that when we initially submit our nonfiction manuscripts, we may have unconsciously stripped away some of the vivid scenes, the emotional resonance, and the juicy details in an effort to conform to the perceived word count constraints. However, during the editing process, these crucial elements are often reintroduced, deepening our manuscripts.
Editors nudge us to add kid-friendly details, context, and emotion and stakes, allowing our stories to truly shine. This naturally expands our word counts, but in doing so, we create a more engaging experience for our readers.
I invited authors (some debut, others experienced) to chime in on why their manuscripts grew longer during editing.
Reintroducing the Juicy Details
As author Kelly Rice Schmitt shared about her book I Fuel, “Although my forthcoming book I Fuel is infofic, the whole book is 100% true except for the fact that the narrator is oil. This was expanded after acquisitions to add more detail on some of the science behind certain parts of the processes. It went from 280 words to 380 words.”
“The same thing happened with Deep, Deep Down,” Lydia Lukidis said. “It got longer through the editing process as they wanted me to add in fact boxes and expand on certain parts. I try not to obsess over word count but also, to stay within reasonable parameters.”
Deepening the Emotional Connection
For narrative nonfiction, emotional depth is paramount, and editors often encourage us to delve deeper into the motivations, struggles, and triumphs of our protagonists. As Jilanne Hoffmann shared about her book A River of Dust, “My editor wanted me to emphasize the relationship/friendship between the two continents a little more. I sat with that comment for bit and figured out that the structure of the book hadn’t quite come full circle. It was “almost” there, so I added a couple of lines at the beginning and the end to make the circle feel satisfying. And voila! A longer word count, and a more satisfying feeling of connection – separation – connection.”
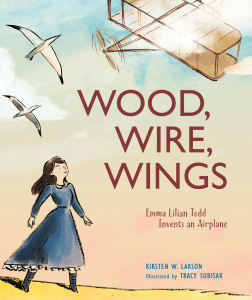
I had a similar experience with Wood, Wire, Wings, my first narrative nonfiction manuscript. My editor, Carolyn Yoder at Calkins Creek, wanted me to dig in to reveal more of Lilian Todd’s motivation to tinker (from her childhood) and the stakes, as well as to heighten her emotional arc from spark through struggle and final success. Many of these moments required crafting mini scenes, which took more words than summarizing.
Making New Craft Decisions
Author and editor craft choices like structure and voice can result in books growing longer too. Amanda Davis said, “I know for me, my (unannounced) nonfiction title grew longer after acquisition and during the editing process because we made it a dual narrative, which added a lot more biographical elements to the story. The thought was that this could be helpful to the school and library market.”
Heather Montgomery’s experience with What’s in Your Pocket illustrates how voice choices can also influence word count: “My NF PB What’s In Your Pocket lengthened significantly after acquisition because we realized the need for a refrain which increased both page number and word count.”
Tailoring to the Publisher’s Vision
Sometimes, the growth in word count stems from specific publisher preferences or stylistic choices. As Linda Rose Zajac shared about her book Robo-Motion, “My editor requested a short intro and summary at the beginning and end of the text because all books in the series were set up that way.”
Tziporah Cohen said, “My PB bio, ON THE CORNER OF CHOCOLATE AVENUE: HOW MILTON HERSHEY BROUGHT MILK CHOCOLATE TO AMERICA was 748 words on submission and 1088 on publication (40 pages), not counting side bars. I would say it grew mostly because my editor was not a fan of backmatter, and we ended up putting a lot of the backmatter info into the text, though we still kept a timeline at the end.”
Publisher requirements also drove the growth of Christine Van Zandt’s A Brief History of Underpants. “It was 1113 on submittal but at 32 pages. The publisher wanted it to be a 48-page book with fewer words per page. … I was to have a max of 60 words per two-page spread, so 20 x 60 = 1200 words. …it came in at 1185 words.”
Story First and Foremost
My tried and true advice? Don’t get so caught up in cutting your story to 800 or 1,000 words, especially in the early stages. Take the words you need to tell the story you need to tell. As we learned last month, nonfiction picture books weigh in at a variety of word counts. And their length is often more a function of the age of their target reader.

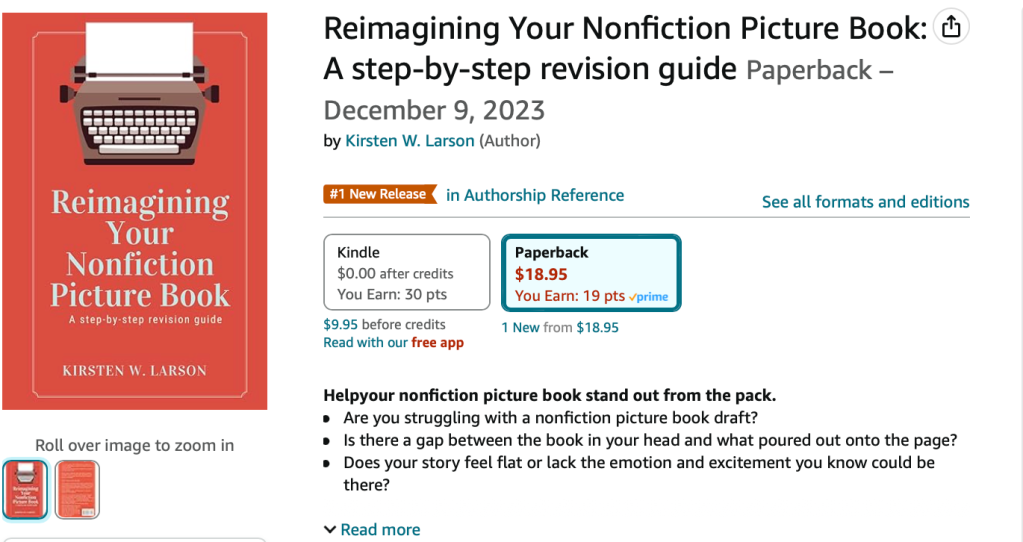
Are you ready to revise your nonfiction picture book, to add emotional resonance, and up the kid appeal? I’ve got a book for that. Check out Reimagining Your Nonfiction Picture Book: A step-by-step revision guide.