Arts/Crafts, Education, Science/Math

Pipe Cleaner Constellations

This is a picture of pipe cleaners, star beads, and constellations.

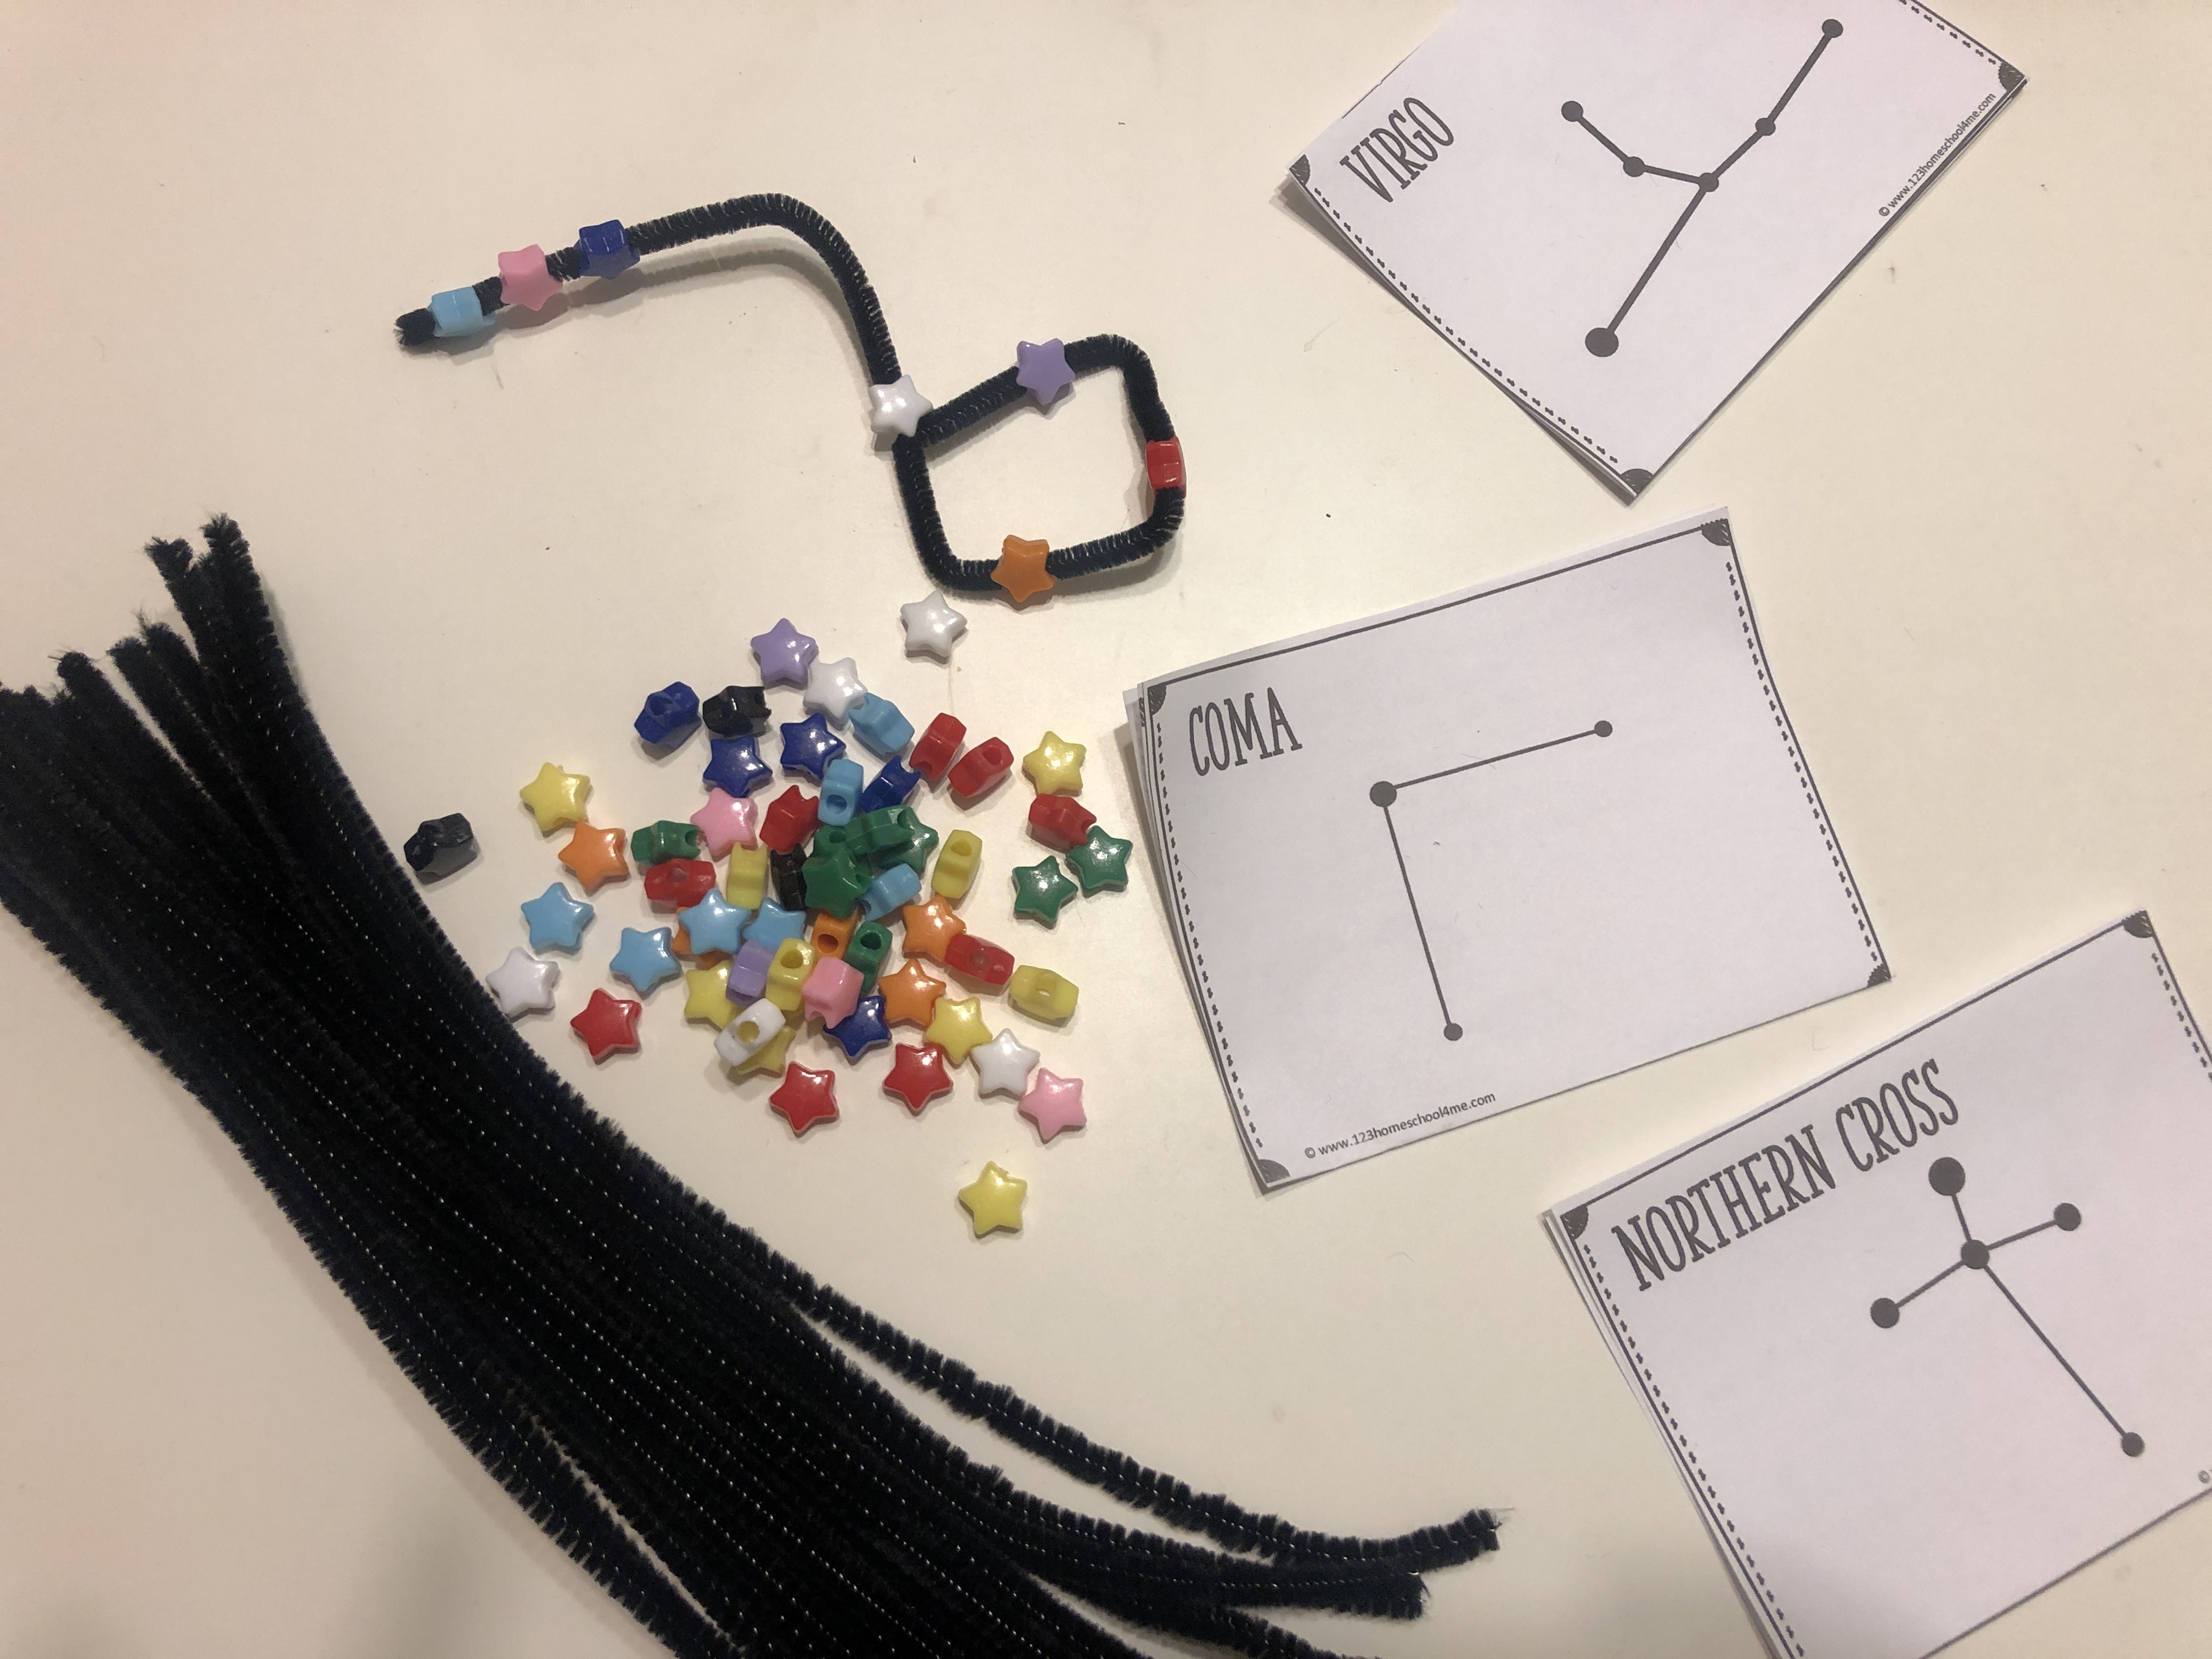
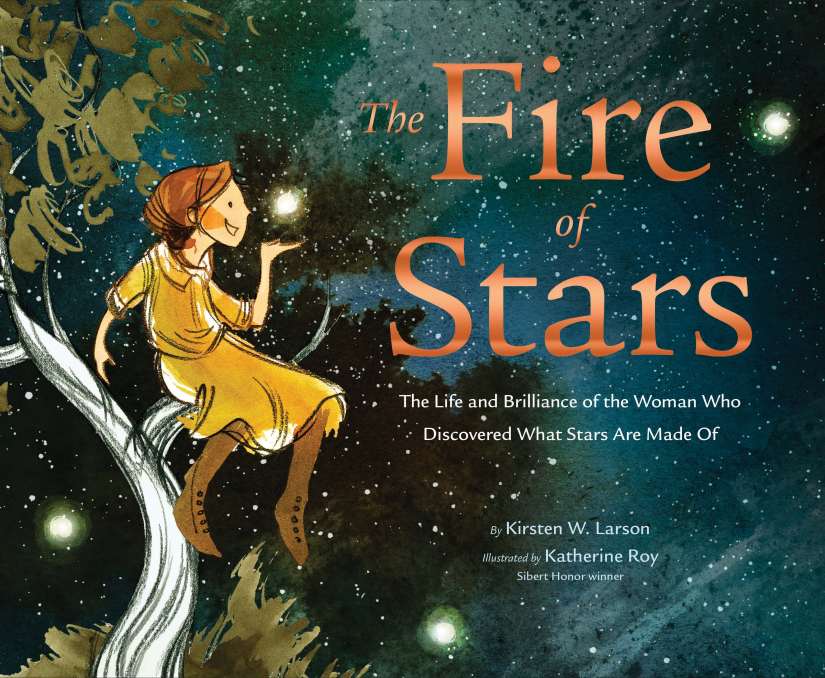
Looking for a simple activity to accompany THE FIRE OF STARS? Check out this pipe cleaner constellation activity from 123 Homeschool 4 Me. We did this activity at my Barnes & Noble book launch, and it was a huge hit.

What you need:

What you do:

  • Pick a constellation printable.
  • Slip on the the appropriate number of beads.
  • Space out the beads, bend, and shape until your constellation resembles the one on the card.

Note that some constellations, like the Northern Cross, may require adding a second pipecleaner plus trimming with the scissors. These more complex constellations are fun for older kids. Simpler constellations like Coma or the Big Dipper are easier for preschoolers.

We’ll make pipecleaner constellations at my upcoming event at Barnes & Noble Peninsula Town Center in Hampton, VA on Aug. 5 at 11 a.m. If you are in the Tidewater area, join me. Learn more here.

This is the cover for THE FIRE OF STARS
Arts/Crafts, Books, Education, Homeschool, Science/Math

Make Your Own Stellar Scene

Each month, I’ll spotlight a book-based educational activity teachers and homeschooling parents can use with their students. This activity was created by FIRE OF STARS illustrator Katherine Roy. It appears in our educators’ guide, which you’ll find here.

James Webb Telescope image of the Southern Ring Nebula.
Southern Ring Nebula IMAGE credit: NASA, ESA, CSA, STScI 

Make Your Own Stellar Scene

The James Webb Space Telescope was launched in 2021 and is the largest optical telescope in space. It is capable of producing high-resolution photographs of ancient, remote galaxies like no telescope before it. Show images that the James Webb Space Telescope has taken to the class. 

  1. What are the different colors and shapes in these photographs?
  2. How do the photographs make them feel?
  3. How big or small do you think these scenes are? 
  4. What marks or textures could be used to represent these scenes in a drawing? 

Explain that illustrator Katherine Roy used an old toothbrush dipped in ink and watercolor to represent the star storyline in THE FIRE OF STARS: The Life and Brilliance of the Woman Who Discovered What Stars Are Made Of. To make their own stellar scenes, students will need:

  • paper
  • old toothbrushes or paint brushes 
  • watercolor, paint, or ink 
  • water 
  • salt 
  1. Make a swirling circle in the middle of your paper. 
  2. Get a little more paint or ink on your brush and make bigger swirls. These are the gases orbiting your newly formed star.
  3. Try making some thick marks. Now try making some thin marks. What feels right to you? 
  4. Try adding spatter marks and salt to represent dust and particles.  

When the paintings are completed, display the paintings in a classroom gallery for their own view of the cosmos.  

THE FIRE OF STARS book cover
Homeschool, Writing

Creativity is Messy…

If I could share one thing with young writers of all ages, it’s that creativity is never a linear process. It’s always full of detours, rabbit holes, and dead ends. And that’s frustrating, but it’s also wonderful! There’s magic in that messiness.

For example, I’ve recently become reacquainted with my notebook pages from when I was first noodling around with a new structure for THE FIRE OF STARS (five years ago now!). Below are my messy and illegible notes. Don’t worry. I’ve included captions to help with the translation.

Before I got to this point with THE FIRE OF STARS, I’d been researching and working on various drafts for almost three years, trying to find just the right way to tell the story of astrophysicist Cecilia Payne. But nothing had come together in quite the right way — yet.

Creating these messy scraps in my notebook through scribbling , experimenting with words, and (badly) sketching led to my eventual creative breakthrough with the book.

The process is a lot like star formation. It stars start with tiny “bits” — dust and hydrogen atoms. Soon the tiny pieces start to clump together, slowly growing until they explode in a breathtaking show of light.

This is also the way Cecilia Payne worked. She tried different things, hit obstacles, and needed a lot of patience before everything came together in her final, ground-breaking discovery.

Creativity — whether writing or science — is messy … and that’s a beautiful thing. So grab your notebook and collect scraps of words, snatches of an idea, and all your swirly scribbles.

Science/Math

RX: Digestion Investigation

Soup  2

Last week was Teacher Appreciation Week. I had prepared a science activity for the kindergarten class. I had planned to help out in the classroom while the teacher went to a special luncheon.

Then, life took over. Both kids got sick, and we were stuck at home. The worst part was Cooper’s disappointment at not being at school for the science experiment.

Fortunately, it was a case of internet to the rescue! While Cooper’s class watched THE MAGIC SCHOOLBUS: FOR LUNCH on DVD, I was able to pull up the same episode on Youtube.

After watching the show, we did this SID THE SCIENCE KID “Digestion Investigation.” All you need is a zip-top bag (stomach), lemon juice (stomach acid), crackers (food) and the patience to see what happens. Fortunately, we had all the saltines we needed, and chicken soup too.

Cooper didn’t miss a thing, and Finley was able to participate. Watching the TV show and doing the experiment filled up 45 minutes of a very long day with two sick boys. And they learned a lot about the digestive system. What fun!

Science/Math

Senses Science: What’s That Smell?

IMG_2948

“Ewwww. I smell broccoli!”

“Mmmmmmm, cookies.”

“Finley’s stinky!” (Actual quote.)

Smell is one of the five ways we learn about our world, along with sight, sound, taste and touch. For most animals, their sense of smell is their sharpest. It helps them hunt, find out where they are going and locate family members. Human noses are not quite as sensitive, but we can still detect more than 10,000 different smells!

For scientists, their five senses are important tools, whether they are studying animals in the field or creating new chemicals in a lab. Here’s a fun activity to help your budding scientist hone his or her sniffing skills.

What you need:

  • 3 or more small containers (Note: We used test tubes from Learning Resource’s Primary Science Set.)
  • Cotton balls (for liquids)
  • Smelly stuff: citrus peels, herbs, spices, coffee beans, vinegar etc. (Just make sure whatever you are setting out is safe to sniff. Avoid harsh chemicals.)
  • Handkerchief or blindfold

What you do:

  • Put a little bit of smelly stuff in each test tube.
  • Blindfold your child and hand him or her each test tube in turn. (Note: Sniffing coffee beans in between each test tube can help cleanse the nose’s “palate.”)
  • Ask questions: What does it smell like? What does the smell remind you of?
  • Challenge your child to guess what’s in the test tube.

A good extension would be to have children record their observations and guesses in a science journal. Younger children could draw pictures of their guesses instead of using words.

Do you want to learn more about your sense of smell? Check out these kid-friendly links:

Science/Math

Science Fun: Water Balloon in a Bottle

It’s still warm — ok, hot — in our part of Southern California, so this experiment from Steve Spangler Science was a fun way to cool off. We used it to discuss how air is “stuff” even though we can’t see it.

Air takes up space in a one-liter bottle, which you find out when you try to blow up the balloon inside the bottle. You can’t do it because the air already in the bottle has nowhere to go. When you poke a hole in the bottle, the air filling the bottle can escape as you blow air into the balloon. Really, the water balloon part is just for fun.

The boys enjoyed the final part of this experiment the most. The Steve Spangler team shows you how to splash your friend as he or she looks at your water balloon in the bottle. The boys got to splash Daddy, which they found hilarious. File this one away for April Fool’s Day.

The experiment requires only a few household items:

  • One liter bottle
  • Duct tape
  • Balloon
  • Tack or pushpin
  • Water

You can watch the how-to video…..here.

Outside, Science/Math

Scoping Things Out

Much to our parents’ chagrin, my husband and I still have “stuff” stashed in their attics on the other side of the country. My Mom and Dad boast my Barbie dolls. My in-laws house lots of LEGOs. Occasionally, our parents bring an extra suitcase brimming with childhood treasures: Fisher-Price campers, American Girl Dolls and the like.

My husband’s latest endeavor is convincing his mom to bring his childhood microscope, especially since our boys are budding scientists. For some investigations, our assortment of magnifying glasses just won’t do, and purchasing a new microscope is a big investment. Recognizing a microscope migration may not happen immediately, I discovered a near-term substitute on Colleen Kessler’s Raising Lifelong Learners blog: the Carson Microbrite Pocket Microscope.

The Carson Microbrite arrived yesterday ready to go. It included the required batteries, and the instructions were easy to follow. You can adjust the magnification from 20 times to 40 times with a wheel, then focus with the lever. Press and hold a button, allowing the LED light to illuminate your specimen. The kit includes two slides with covers and a detachable slide “stage.”

We took it outside for a test drive yesterday morning. A roly-poly (aka pill bug) provided the most amusement. Magnifying him 40 times, we could watch his legs wriggle and his mouth parts move. Observing a flower, we could see the presence of pollen. We also looked at rocks, dirt, pine tree parts. This microscope’s portability makes it perfect for outdoor play or hikes: no need to wait until you are home to look at your specimens.

I found our Microbrite for under $10 on Amazon. At that price, it’s a perfect addition to your science tools.

Homeschool, Nature, Outside, Science/Math

Monarch Migration

First I send a big thank you to fellow blogger Mamadestroy for prompting this post and providing the source materials. Thank you, thank you, thank you!!!!

Some of you have been following our adventures as we attempt to grow painted lady butterflies from caterpillars. Our little guys should be making a chrysalis any day now.

Now here’s your chance to get into the butterfly act and become scientists from the comfort of your armchairs without committing to raising caterpillars.

Scientist need your help tracking monarch migration. Each fall, monarchs migrate to Mexico (and some to Southern California) where they spend the winter. Come spring, the females return to the U.S. and lay their eggs on milkweed in the southern U.S. Once the caterpillars hatch into butterflies this new generation continues north for the summer.

Monarch migration is mysterious. The butterflies overwinter in the same forests year after year. Amazingly, these butterflies know where to fly even though no monarch makes the trip to Mexico more than one. Still, logging in Mexico has made monarch migration a “threatened phenomenon” since many of the trees where monarchs spend the winter have been destroyed.

You can help the monarchs. Record sightings of monarch butterflies, eggs and caterpillars, as well as milkweed (their food source)….here. This data helps scientists learn how climate change and other factors affect this butterfly beauty.

The site also has integrated maps of reported sightings…here. The Kids section provides a host of resources, including videos of caterpillars hatching from their eggs and butterflies bursting from their chrysalis. National Geographic Kids also has a wonderful overview of creature including video…here. If you are a teacher or homeschooling parent, these resources would be an excellent accompaniment to a spring unit or caterpillar study.

Have you seen a monarch in your neighborhood? Report it and help scientists learn more about this fascinating creature.

Science/Math

Sid the Science Kid: Little Scientist Day

Sid swag

First a big thank you to two fantastic bloggers who shared some sunshine with me this weekend. Check out Vivian Kirkfield at Positive Parent Participation and Jarmila Victoria Del Boccio at Making the Write Connections. These two ladies were gracious enough to pass on the Sunshine Award.

Here’s what makes me happy: hundreds of preschoolers, toddlers and their parents squealing with delight, dancing in their seats and screaming like crazy for….Sid the Science Kid. Never heard of Sid? Imagine animated, childlike Muppets conducting hands-on science investigations and encouraging kids to investigate, explore and discover. That’s Sid, a creation of The Jim Henson Company, which airs on PBS.

My children have enjoyed the show for a couple of years now. So, when PBS SoCal hosted “Little Scientist Day” featuring Sid at the California Science Center, I snapped up tickets. We enjoyed “real-live” Sid singing songs from the show and had a sneak peek at a yet-to-be-aired Easter episode about rocks. The museum also had a number of investigations set up throughout. We made slime out of polyvinyl alcohol and sodium borate. You can to the same thing at home with school glue and borax (scroll to the bottom of that post for directions for making “alien goop.”)

Our hosts: Sid and Jamie Annunzio Myers

As a parent of budding scientists, I love the Sid show. Each episode includes a real science investigation that you can replicate at home from instructions on the PBS Parents site. We’ve made applesauce to discuss irreversible change, bounced balls to explore elasticity and much more. Each activity includes learning objectives, a materials list and step-by-step procedures.

Parents and teachers also can follow the two Sid-related blogs for more activity ideas and ways to implement the investigations at home and school.:

Let’s face it, children are natural scientists. Early introduction to hands-on investigations plays into their natural curiosity and can instill a life-long passion for science.

Books, Science/Math

Perfect Picture Book Friday: Older Than The Stars

Author: Karen C. Fox
Illustrator: Nancy Davis
Publication Info: Charlesbridge, 2010
Intended audience: Ages 7 and up
Genre: nonfiction, picture book
Themes/topics: cosmology, evolution, science
Synopsis and opening: ”You are older than the dinosaurs. Older than the earth. Older than the sun and all the planets. You are older than the stars. You are as old as the universe itself.”
Karen C. Fox explains Big Bang Theory and evolution in a simple and child-friendly way. Her tale connects the reader and all the plants and animals on the Earth to the beginning of time when the Big Bang created the “bits” — the protons, neutrons and electrons — that became the building blocks of all elements and life. These elements are eternal, Fox explains. You breathe the same oxygen the dinosaurs breathed. Your fingernails contain carbon that might have been part of a plant. As she knits the tale together, she follows the format of “This is the House That Jack Built” to show how the Big Bang ultimately resulted in complex life.
Resources: BrainPOP has a fantastic animated cartoon that explains Big Bang Theory. You’ll need a free trial to access it. Several Web sites use balloons to explain Big Bang Theory. In this one, from Discovery Education, children blow up a balloon and measure distances between different objects marked on the balloon to see how the universe is expanding. DLTK has an activity for making your own universe in a baby food jar. It’s kind of like the snow globe activity I posted previously.
Why I like this book: I wish I had written this book. Karen C. Fox’s book is the perfect marriage of scientific fact, told simply and within a beautiful narrative framework.
Every Friday bloggers review “Perfect Picture Books.” Find a complete list of book reviews organized by topic, genre and blogger at author Susanna Leonard Hill’s site.